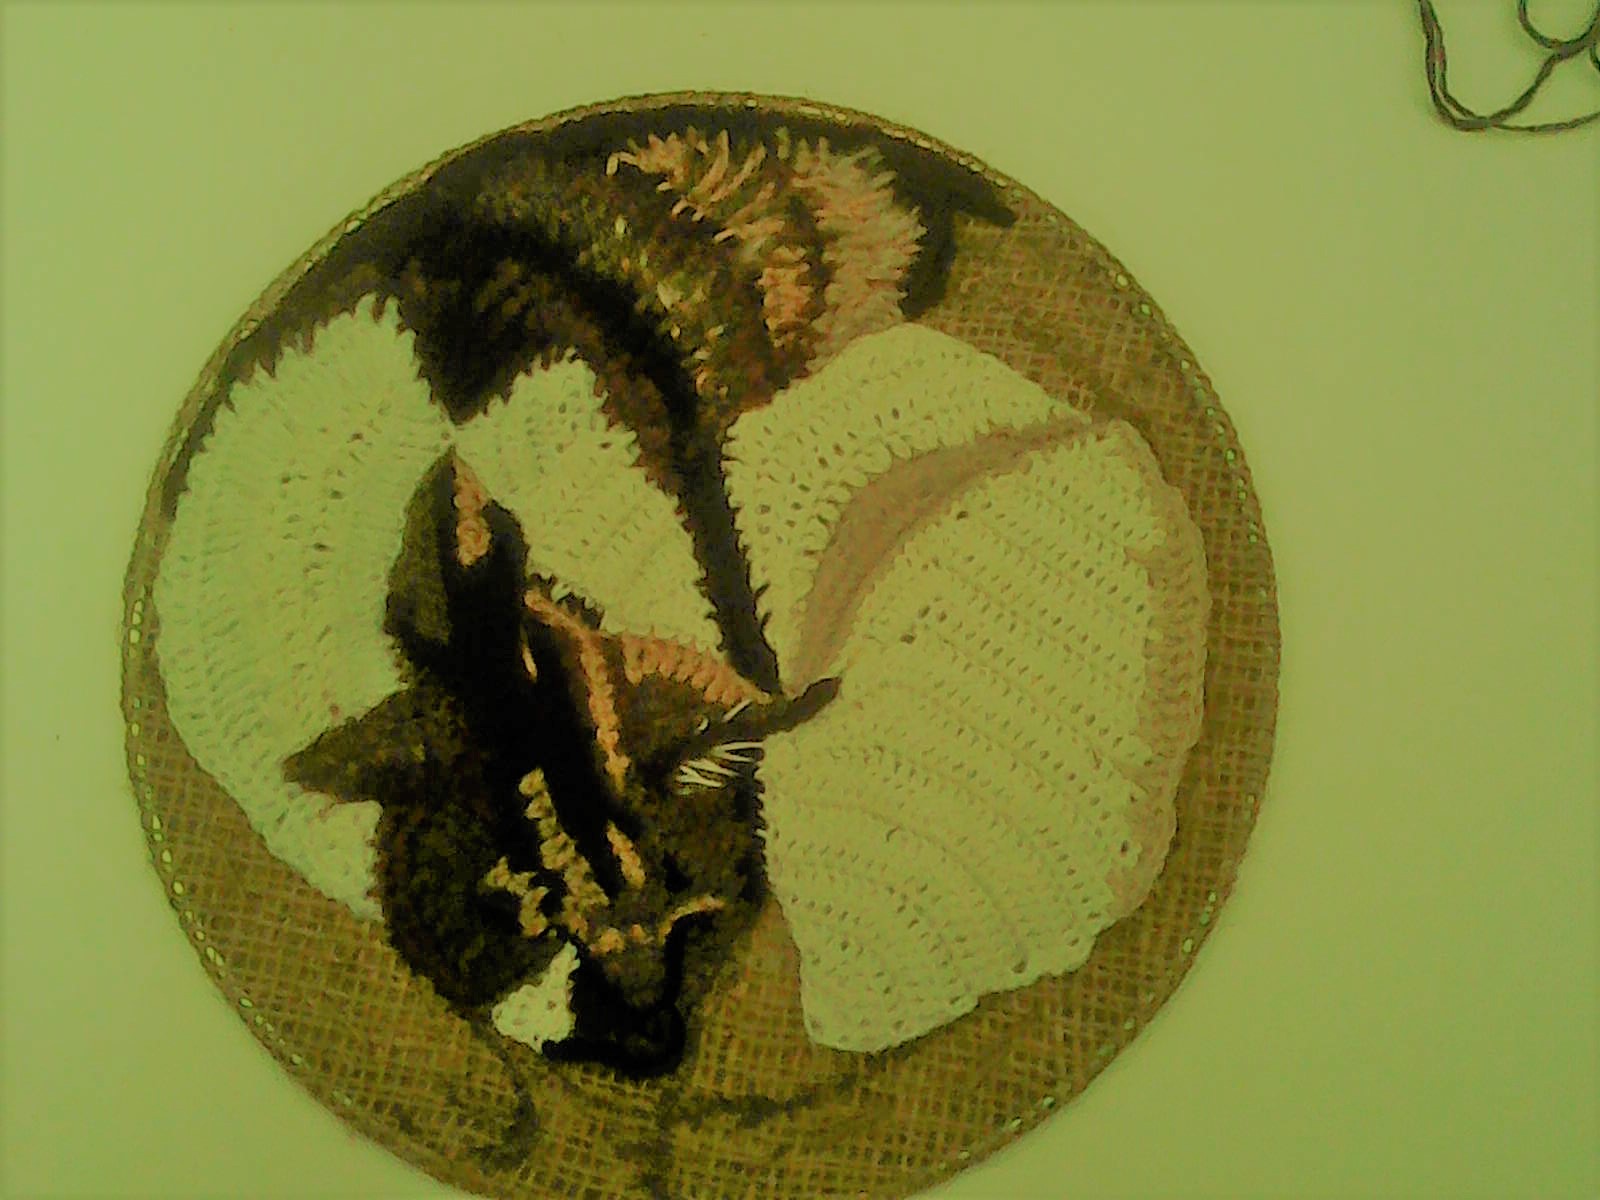
A large black cat called 'Colin' resides at St.Christopher's Hospice.
As a volunteer gardener, I often find him lurking about in the undergrowth. Failing that, he leaves evidence of his presence for us gardeners to deal with...
He is the inspiration for the following amigurumi which I designed. It is worked from the top down and ears, arms, legs and tail are integral to the design and do not need to be sewn on afterwards. Yay!
These were made using 4ply and DK yarn, hook size between 2-3.5mm, the fabric just needs to be quite tight, as stuffing would show through if it is too loose.The large Colin in the second picture was made in chunky yarn with a 4 or 5mm hook.
The pattern is still at the testing stage, so I'd appreciate any crocheters out there giving it a go, feedback welcome, positive or negative. This batch of Colins sold out very quickly after being on sale in the Anniversary Centre.
Inspired by the pond of Koi Carp at St. Christopher's Hospice, I designed this seamless amigurumi fish. The yarn is some vintage variegated wool, from a Charity Shop.Must finish writing the pattern.
Any testers out there, want to have a go?
Made some changes, in an effort to simplify this pattern. I put bells inside, one is for a baby, the other for a dog! Still needs tweaking,I think. They look a bit more lungfish than Koi Carp! Mighttry a mobile,using variegated yarns
Anyway, heres the pattern Enjoy!
This pattern
starts at the mouth and is worked in spiral rounds to the tail, with the fins
all being integral, not needing to be sewn on afterwards.
Any weight
and size of hook could be used, the only proviso being, that the fabric be
close enough not to allow stuffing to show through.
Several
could be made in different colours and suspended to make a baby mobile, or they could contain cat nip or a
bell as a pet toy.
3.5mm hook,
DK yarn
Make a magic
ring and into it make 10dcs. OR If you
prefer, ch2 and work 10dc into 2nd
ch from hook.(if using second method, leave a long end for threading through
and puling end closed).
Rnd 1:*2dc into next st,4dc, repeat from *
once.(12sts).
Rnd 2: *2dc into next st,5dc, repeat from
* once. (14sts).
Rnd 3: *2dc into next st,6dc,repeat from *
once. (16sts).
Rnd 4: *2dc into next st, 7dc, repeat from
* once.(18sts).
Eyes
Round.
Rnd 5:3dc, make bobble thus:
Insert hook
into next st, pull yarn through both loops, pull up yarn to about 3-4mm.
*yrh,insert
hook, yrh,pull up 3-4mm, repeat from * 3 more times. Yrh and pull through all
loops on hook.SS into same st as loops were made in.
4dc,2dc in
next st,4dc.
Make bobble
for second eye.3dc,2dc into next st (20sts)
Rnd 6:3dc, 2dc behind bobble,5dc,2dc in
next st,5dc.Behind bobble work 2dc, 3dc to end. (24sts).
Rnds 7-8: Dc all around without increasing.
Front
Side Fin Round.
Rnd 9:8dc.
Make fin
thus: Ch9, into 3rd ch from hook,1tr.Into remaining ch, work
(2tr,2htr,1dc,1ss)then dc into next st of round and turn.
Work to tip
of fin, (2ss,2dc,2htr,2tr), turn
Ch2,
1tr,2htr,2ch,2ss, dc into next st of round. 6dc. Make second fin the same way
as the first.7dc. (24sts).
Dorsal
Fin rounds
Rnd 10: Into top st, ch 5. Dc into2nd ch
from hookand rest of ch.9dc,1dc behind fin,6dc,1dc behind fin,7dc.(24sts).
Rnd 11: Dc along last edge of fin worked,
not the cast on chain (you may have to twist work slightly, in order to achieve
this),ch1, turn. Dc back to top of head, Dc all around.
Rnds12-19: Repeat rnd 11.
Rnd 20: 4dc to top of fin,ch 1, turn .4dc to
base of fin.
11dc,2dc
tog,11dc.
Rnd 21: 3dc into fin,
ch1,turn,4dc.10dc,dc2tog,10dc.
Rnd 22:3dc up fin, ch1,turn, 4dc.Dc all
around.(21sts).
Lower
Fin Round
Rnd 23:Ch3 into dorsal fin,ch1,turn.4dc.5ch,
make fin
thus;[Ch6,into 3rd ch from hook, 1htr, 1htr,2dc,1ss,turn
1ss,1dc,2htr,2ch,turn
2htr,2dc.1ss.]
6dc, make 2nd
fin as 1st.5dc.
Rnd 24:3dc up fin,ch1,turn.4dc to base of
dorsal fin.1dc behind fin.6dc,1dc behind fin.4dc.
Rnd 25: 3dc up fin,ch1,turn.4dc to top of
fin.7dc,dc2tog,7dc.
Rnd 26: 3dc up fin,ch1, turn.4dc to base of
fin.14dc.
Rnd 27: 3dc up fin,turn,3dc to base of
fin.6dc,dc2tog,6dc.
Rnd 28: 3dc up fin,turn, 3dc. 12dc around.
Rnd 29:3dc,turn,3dc.6dc,dc2tog,6dc.
Rnd 30:2dc,1ch,turn,3dc.11dc.
Stuff body
with polyester toy stuffing.
Rnd 31:2dc,turn,2dc.5dc,dc2tog,5dc.
Rnd 32:
2dc turn,2dc,4dc,dc2tog,4dc.
Rnd 33:1dc,ch1,turn,2dc.3dc.dc2tog,3dc
Rnd 34: 1dc,turn,1dc, dc2tog twice.
Tail
Rnd 35:[10ch,turn,ss,2dc,2htr,1tr,1htr,1dc]Repeat
instruction in brackets for second section of tail.Work a dc into other side of
chain to tail end, repeat bracket instruction. Repeat for second part of tail.
Sew in ends,
Embroider eyes on bobbles, using black French knots and white chain stitches.